





Lighting for Porn: Setups, Gear and Techniques (2026)

How to light adult video: three-point setups, natural light, budget kits, and advanced studio and location configurations that flatter skin and kill harsh shadows.

Lighting for Porn: Setups, Gear and Techniques (2026) - Make A Porn Site

Lighting is the highest-return spend on an adult set, ahead of the camera. This guide covers the three-point foundation and how it bends for performers who move, color temperature and color rendering, gear by budget tier, four setups for common scenes, and the problems that only show up once you are in the edit.

Adult Video Lighting

How do you light a porn scene so skin looks right on camera?

Lighting is the single biggest difference between footage that looks like a production and footage that looks like a phone video in a bedroom. It matters more than the camera. A mid-range camera under controlled light beats an expensive camera under a ceiling fixture every time, because what the sensor records is light, and skin is one of the least forgiving subjects there is.

Adult work also has a lighting problem most film guides never address: performers move, and they move a lot, across a bed or a couch or a floor, changing position and orientation constantly. A locked three-point setup built around one mark falls apart the moment somebody rolls two feet to the left. The working approach is to light the space, not the mark, and to accept slightly less dramatic shaping in exchange for an area you can shoot in continuously without resetting lights every few minutes.

The three-point foundation, and where it bends

Porn Set Lighting
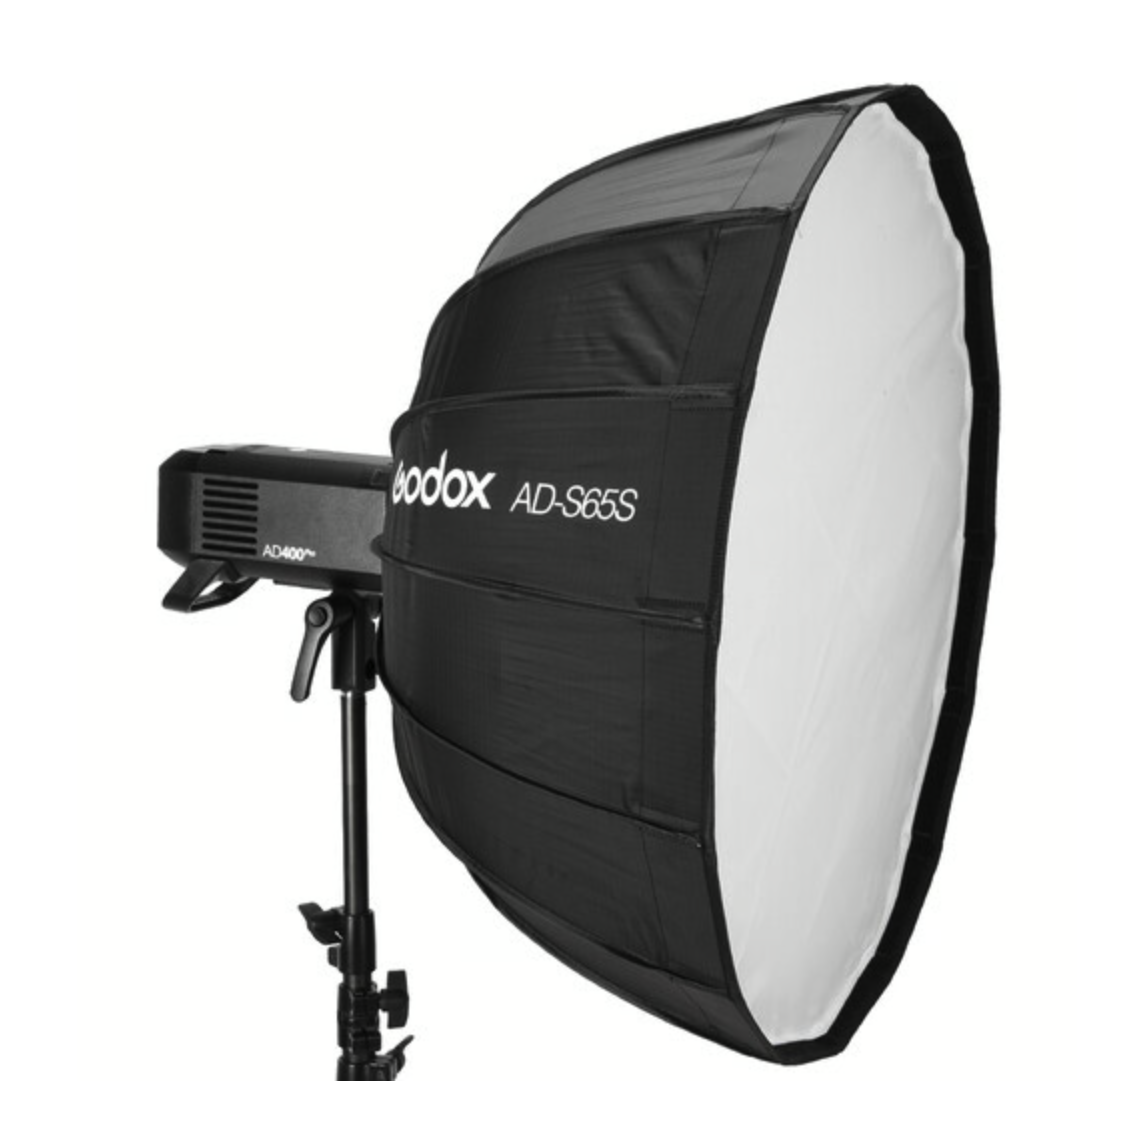
Lighting setup on an adult video set

Lighting is the highest-leverage spend on any adult set.

Three-point lighting is still the vocabulary, even when you break it:

  1. Key light. The main source and the one that defines the look. Standard placement is 30 to 45 degrees off the camera axis and 30 to 45 degrees above eye level. Higher than that and you get shadows in the eye sockets and under the nose. Lower and the scene starts to look like a horror film.

  2. Fill light. Sits opposite the key and controls how dark the shadow side goes. This is a ratio decision, not an on/off decision. Roughly 2:1 key-to-fill reads soft and commercial, which is what most adult buyers expect. Push to 4:1 or beyond and you get moody and contrasty, which suits low-key bedroom material but hides detail.

  3. Backlight. Behind and above the subject, aimed at the head and shoulders. It separates bodies from the background and stops two performers from merging into one silhouette, which is a real and constant risk in adult work where subjects overlap.

  4. Background light. Aimed past the subject at the wall or set. Without it the background falls off to black and the frame gets claustrophobic. With too much, the room competes with the performers.

  5. Practicals. Lamps, candles and fixtures visible in the shot. They sell the location as real. Put lower-wattage bulbs in them than you would at home, or they blow out and pull the eye straight to the corner of the frame.

For a moving scene, the practical adaptation is to raise the key, enlarge it, and move it more toward the camera axis. A large soft source high and slightly front of the performers gives you an area of usable light instead of a single well-lit spot. You lose some shaping. You gain the ability to shoot for twenty minutes without touching a stand.

Color temperature and color quality

Two numbers decide whether skin looks like skin.

Color temperature is measured in Kelvin. Daylight and most modern LED fixtures sit around 5600K. Household tungsten bulbs sit around 3200K and read warm and orange. The rule is not which one to pick, it is to pick one. Mixing a 5600K fixture with a 3200K table lamp and window light in the same frame gives you three different color casts on the same body, and no amount of grading fixes that cleanly, because the correction that fixes the face wrecks the background.

Color rendering is the number people skip, and it is the one that shows on skin. Look for fixtures rated CRI 95 or higher. Cheap LED panels with poor color rendering push skin toward green or magenta, and the failure is worst on exactly the tones adult work photographs most: flushed skin, lips, and anything with blood close to the surface. A cheap fixture can be bright and still make everyone look slightly ill.

Softness is a distance problem

Softness is not a setting. It is the size of the light source relative to the subject, as seen from the subject. A big softbox close to a performer is soft. The same softbox pushed back across the room is small from where the performer stands, and it goes hard. That is why a large modifier used at the back wall gives disappointing results, and why moving the same light two feet closer often solves a shadow problem that no amount of diffusion fixed.

The related rule is the inverse square law: intensity falls off with the square of distance. Double the distance and you have roughly a quarter of the light. This has a practical consequence on a bed. A key placed close for softness will be noticeably brighter at the near edge than the far edge, so a performer moving across the frame changes exposure as they go. Pulling the light back and using a larger source evens the falloff across the working area at the cost of some softness. That trade is the core lighting decision on most adult sets.

Natural light and window work

Porn Light Reflectors
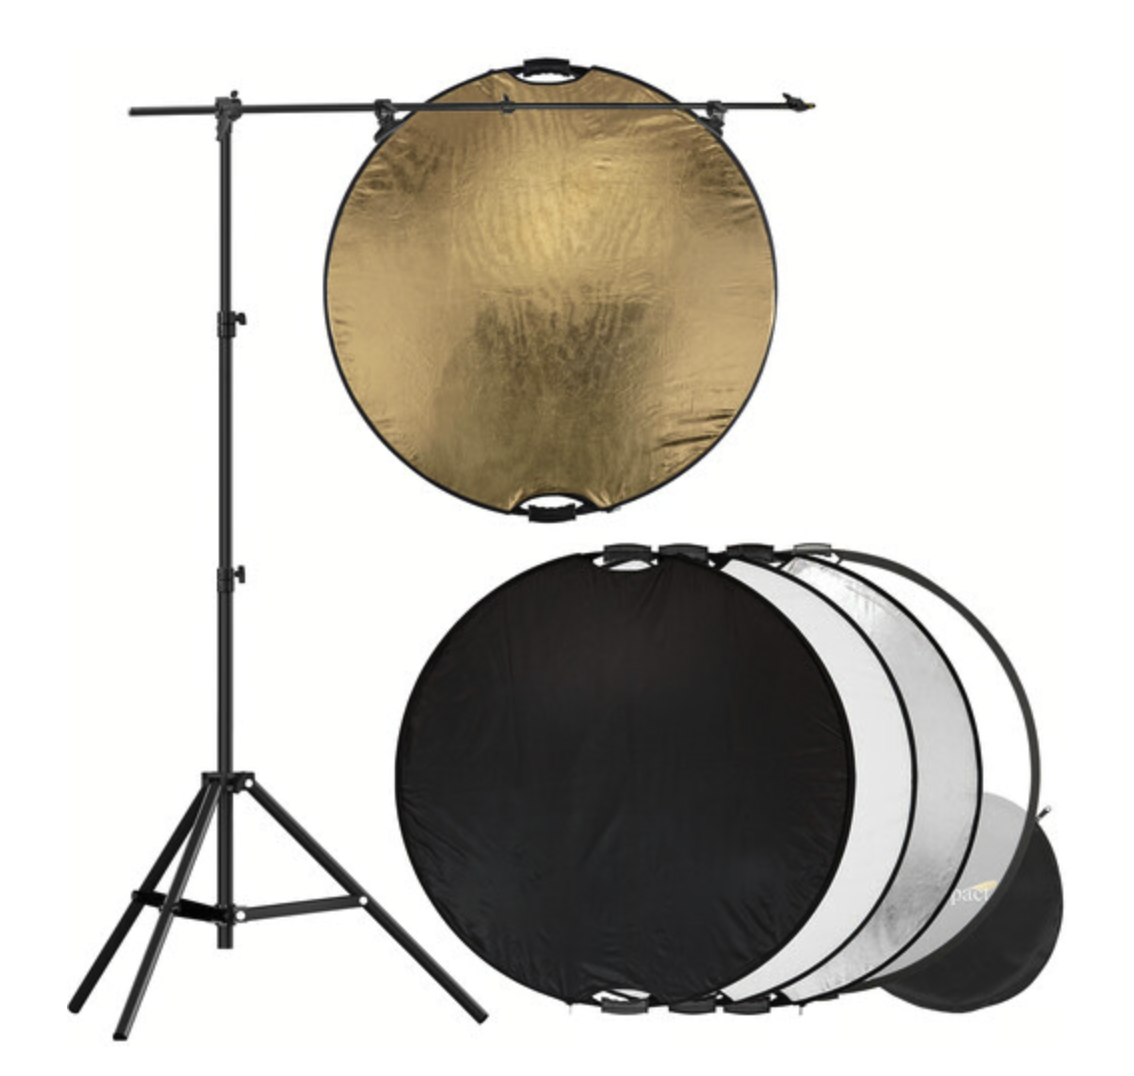
Reflector bouncing light on an adult set

Reflectors bounce either natural or artificial light back into shadow.

A north-facing window on an overcast day is one of the best soft sources available, and it is free. It is also completely outside your control. Cloud cover changes exposure mid-take, and the sun moves, so a scene shot over two hours will not intercut. Window light works for short scenes and for stills. It does not work for long-form adult content unless you can finish inside a narrow window of time.

The usable hybrid is window as key, bounce as fill. Put the performers side-on to the window, put a white bounce board or a reflector opposite to lift the shadow side, and kill every household lamp in frame so you are not mixing color temperatures. If you must supplement, use a daylight-balanced fixture at 5600K so it matches the window rather than fighting it.

Handling shadows and skin

Two failures account for most bad-looking adult footage.

Hard shadows from overlapping bodies. When one performer is above another, the top body blocks the key and drops the lower one into shadow, usually across the face. Fixes, in order of how well they work: raise and enlarge the key so it wraps, add fill from the opposite low side, or add a small dedicated source aimed under the overlap. A hard, small key makes this problem worse than anything else you can do.

Blown highlights on skin. Sweat and body oil create specular hotspots that clip to pure white very quickly, and clipped highlights carry no detail and cannot be recovered in the grade. Expose for the highlights rather than the shadows, add diffusion between the source and the performer, and keep a towel on set. Slightly underexposing and lifting in post is recoverable. Clipping is not.

Lighting is one of the production decisions that compound across every shoot. For how production fits into the full pipeline, see the complete guide. Cameras and audio are covered on cameras for adult production and adult video audio.
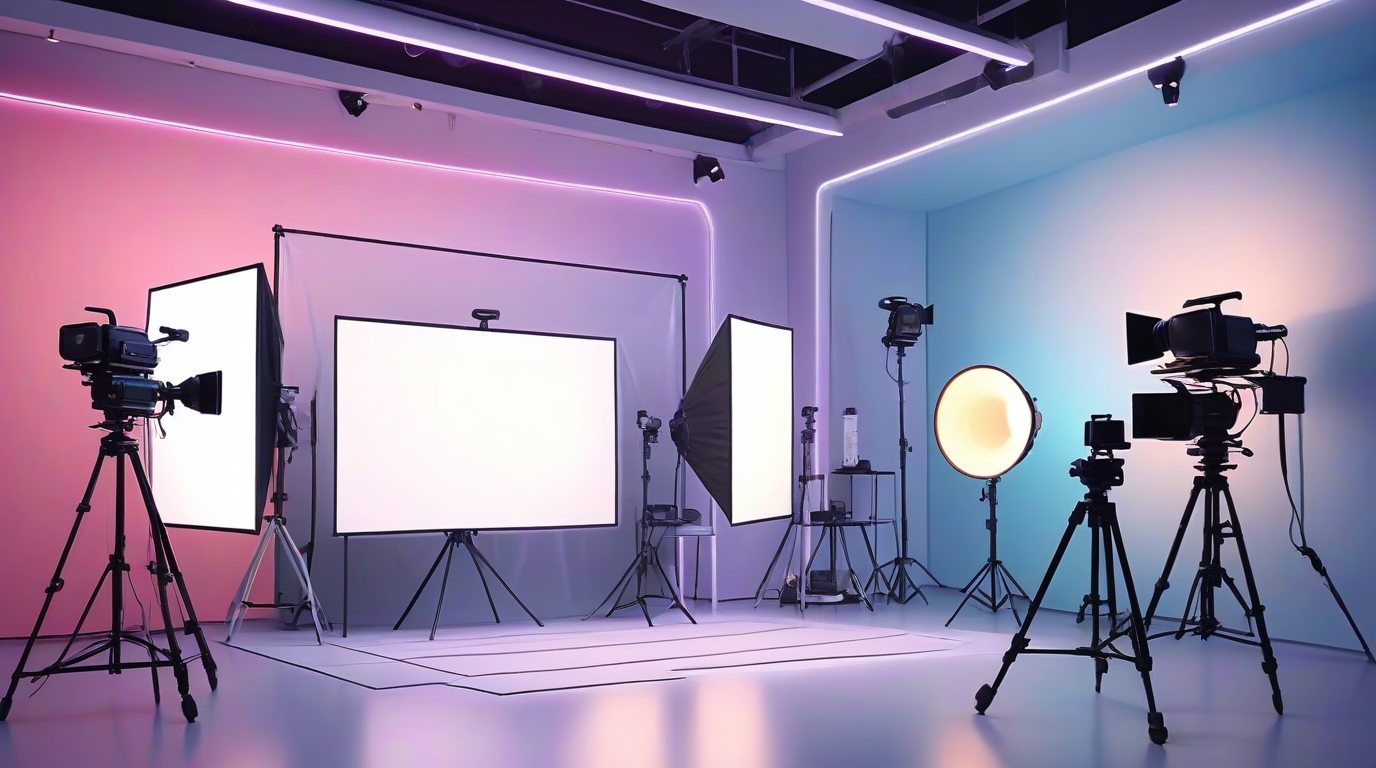
Budget, mid-tier and pro lighting kits

What lighting gear do you actually need for adult video?

Lighting gear divides into three tiers that map to real production stages. The honest summary: the jump from tier one to tier two changes how your footage looks, and the jump from tier two to tier three mostly changes how fast you work. A solo creator who buys pro fixtures before they have a workflow has bought speed they cannot use yet.

Prices move constantly and vary by region, so treat the tiers below as classes of equipment rather than a shopping list with a total. Check current pricing at the point of purchase.

Tier one: the starter kit

What it is: two or three continuous LED sources with softboxes on basic stands, plus a bounce board. Common entry-level options include Neewer and Godox softbox kits, Godox SL-series COB fixtures, and the Amaran line from Aputure. Panel-style LEDs are cheap and portable but generally have worse color rendering than COB fixtures with a modifier on the front.

What it buys you: control. You stop depending on the weather and the ceiling fixture, and your footage becomes consistent from shoot to shoot. That consistency matters more commercially than any single beautiful shot.

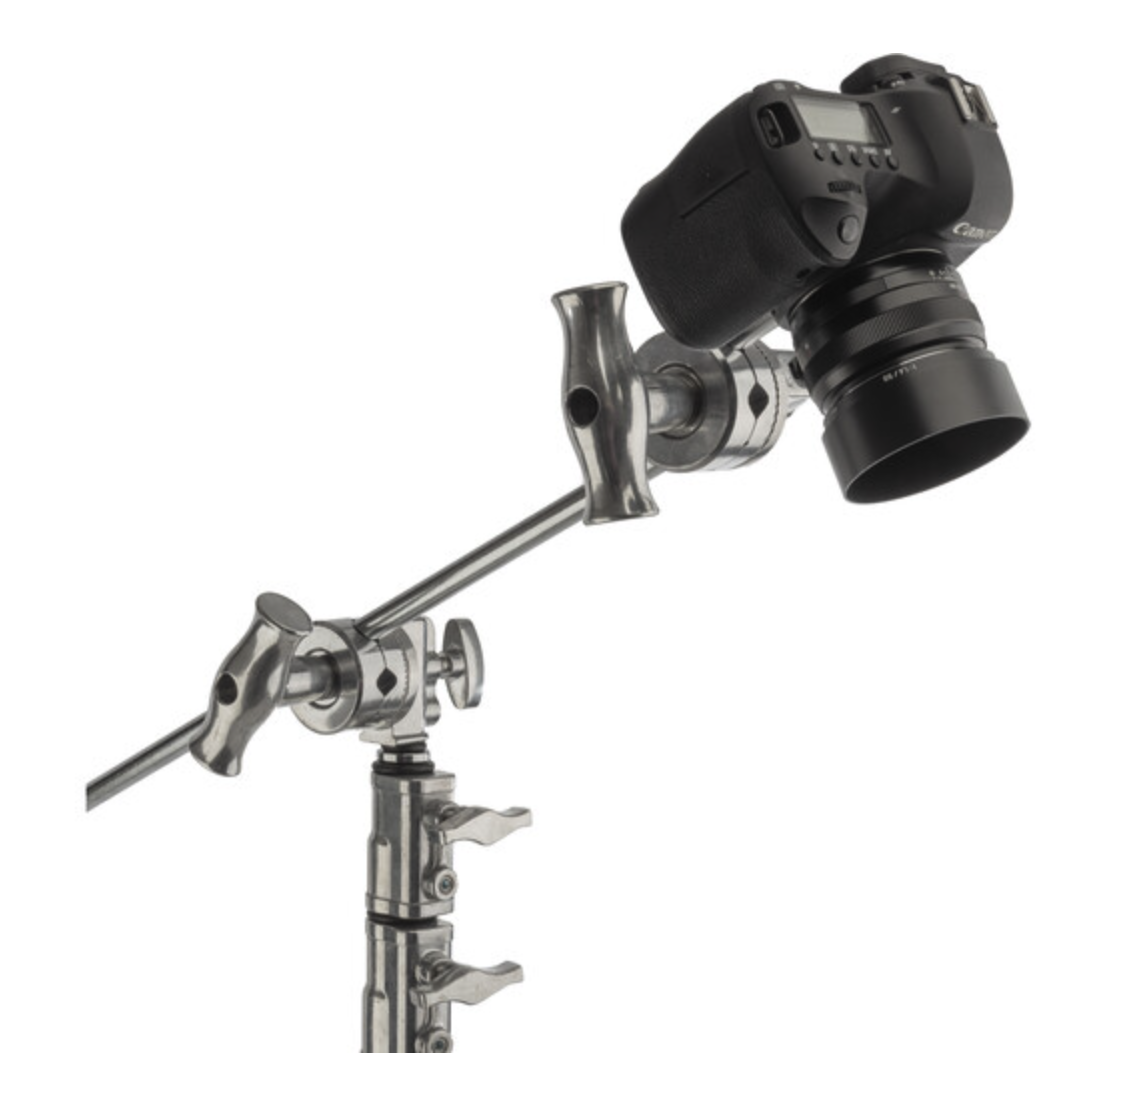
Stands for Cameras
Light and camera stands on an adult set

Stands hold cameras and lights. Buy heavier than you think you need.

What to spend up on even at this tier: stands. Light stands are the one item where the cheap version is genuinely dangerous. A top-heavy fixture on a flimsy stand near a bed with moving people on it is a burn and a lawsuit waiting to happen. Buy heavier stands than the lights require, and use sandbags on every leg.

What to skip: ring lights as a key. They are made for a static talking head at a fixed distance, they produce a distinctive circular catchlight that reads as amateur, and they fall off fast the moment anyone moves.

Tier two: the working kit

What it is: one strong daylight-balanced COB fixture as key, with a proper modifier, plus one or two smaller fixtures for fill and backlight, plus real grip. Fixtures at this level include the Aputure Light Storm series, the Nanlite Forza series, and the Godox VL line. Modifiers matter as much as the fixture: a large parabolic softbox or a lantern-style modifier is what turns a point source into something that flatters skin.

What it buys you: output and shaping. More output means you can push a light through heavier diffusion, or bounce it off a ceiling, and still have a usable exposure. That is what produces the soft, wrapping light that expensive work has and cheap work does not.

Lighting a Porn Set
Diffusion and filters on an adult video set

Diffusion, gels and flags shape light after it leaves the fixture.

The grip package is the unglamorous half: a diffusion frame, flags to keep light off the background or the lens, gels to match a fixture to a window or a practical, and clamps. Flags and negative fill are how you get contrast in a small white bedroom, where every wall bounces light back and flattens everything.

Tube lights, such as the Nanlite PavoTube or Astera Titan range, earn their place at this tier for adult work specifically. They are thin, they can be hidden behind furniture or taped to a headboard, and they give edge separation in tight spaces where a stand will not fit.

Tier three: the studio kit

What it is: fixtures such as ARRI SkyPanel, Kino Flo, and Litepanels Gemini, on proper stands, in a space you control. What it buys you is mostly speed and repeatability: instant color changes, reliable dimming with no flicker, and setups you can rebuild identically tomorrow.

The honest note: this tier does not make a scene look three times better than tier two. It makes a crew work faster and lets a studio turn over more scenes per day. If your constraint is time on set and volume of output, it pays for itself. If your constraint is that your footage looks flat, buy a bigger modifier and learn placement instead.

The support items everyone forgets

Cord Management
Cable management on an adult video set

Cables are a trip hazard on a working set. Tape them down.

  • Sandbags. One per stand leg. Not optional near a bed.
  • Extension cords and a power plan. Know which circuit each fixture is on. Tripping a breaker mid-scene costs you the take and the continuity.
  • Gaffer tape. Cables taped down, not draped. A cable run across a floor where performers walk barefoot is the most common set injury there is.
  • Batteries or V-mount plates if you shoot on location without reliable power.
  • A light meter or a monitor with false color. Either one turns exposure from a guess into a measurement.

Once the kit exists, the next decision is where to put it. See the scene-by-scene setups below, and the shooting guide for how lighting fits into the day.

Common adult lighting setups, scene by scene

Where do the lights go for a bedroom, POV, low-key or detail shot?

Four setups cover the large majority of adult scenes. Each one below gives the placement in plain terms: where the light goes, how high, and what it is doing. Distances assume a normal bedroom-sized space and a standard bed.

1. Bedroom scene, soft and bright

The default look for most subscription and clip content. The goal is even, flattering light across the whole bed so performers can move without leaving the lit area.

  • Key: the largest softbox you own, placed at the foot corner of the bed on the camera side, about 45 degrees off the camera axis, raised so the center of the modifier is roughly a foot or two above the performers when they are upright, and angled down toward the middle of the mattress.
  • Fill: a white bounce board or a second, weaker fixture on the opposite side at roughly half the key's intensity. In a small white room the walls often do this for free, so check before adding a fixture.
  • Back: one small fixture behind the bed, high, aimed at the headboard end, or a tube light hidden behind the headboard. This is what stops two bodies from merging into one shape.
  • Background: whatever it takes to keep the far wall from going black. Often a practical lamp is enough.

The common mistake is placing the key beside the camera at head height. That is flat, it puts the camera operator's shadow on the bed, and it makes everything look like a webcam.

2. POV and handheld

Here the camera is where the key normally wants to be, so the standard placement fights you. Anything mounted on or beside the camera produces flat, hard, unflattering light and a shadow that moves with the lens.

The fix is to get the light off the camera entirely and bounce it. Aim a strong fixture at the ceiling or at a white wall behind and above the camera position, and let the whole surface become the source. You lose efficiency, which is why this is the setup that most rewards a higher-output fixture. What you get is a large soft source that stays consistent as the camera moves, which no on-camera light can do.

If you must put something on the camera, put it on a bracket that offsets it well to one side, and diffuse it heavily.

3. Low-key and moody

Fewer sources, more shadow, more shaping. This is the look that reads as premium, and it is also the least forgiving of sloppy blocking, because performers can move out of the light entirely.

  • Key: one source, more to the side than usual, closer to 90 degrees off the camera axis, creating a clear lit side and shadow side.
  • Fill: little or none. Use negative fill instead: a black flag or cloth on the shadow side to stop wall bounce from filling it back in. In a white room this step is what actually creates the contrast.
  • Back: a hard backlight or tube for a rim on shoulders and hips. In low key this is doing most of the separation work.
  • Practicals: a lamp or candles in frame carry the mood and give the eye somewhere to sit in the dark areas.

Constrain the blocking to match. Agree the working area before you roll, and mark its edges, or you will spend the edit cutting around moments where somebody's face went black.

4. Detail and insert shots

The lighting problem nobody plans for. Close shots are usually blocked by the bodies themselves, so the area you most need lit is exactly the area in shadow, and closer focus with a tighter aperture needs more light, not less.

Keep a small, dimmable fixture available specifically for these, on a short stand or handheld, positioned low and to the side so it reaches under the overlap. Diffuse it: a small hard light this close produces a hotspot that clips instantly on oiled skin. Get the exposure right in camera rather than lifting in post, because these shots are typically the highest-detail moments in the scene and noise from lifting shows most there.

Checking before you roll

Two minutes of checking saves a scene:

  • Walk the full working area while watching a monitor, and confirm exposure holds from one edge to the other.
  • Have someone lie down and move through the main positions while you watch for face shadows.
  • Look for the camera operator's shadow, the boom shadow, and stand legs in frame.
  • Confirm every fixture in frame is the same color temperature, or gelled to match.
  • Shoot ten seconds, and actually watch it back at full size rather than on the camera's rear screen.

Diagnosing lighting problems in the edit

Why does my footage look flat, green or blown out?

Most lighting problems are invisible on set and obvious in the edit, by which point reshooting is expensive. These are the failures that actually recur, and what causes each one.

Flickering or rolling bands in the image

Cause: cheap LED fixtures that dim by switching on and off very fast rather than by genuinely reducing output. At normal frame rates you often get away with it. Shoot slow motion at a high frame rate and the switching becomes visible as bands rolling through the frame.

Fix: use fixtures advertised as flicker-free, run them at full output, and test at your highest intended frame rate before the shoot rather than discovering it in the edit. Household bulbs on a dimmer switch cause the same problem.

Skin looks green, grey or vaguely unhealthy

Cause: poor color rendering. The fixture is producing an incomplete spectrum, so tones that depend on it, which is most of what adult work photographs, come back wrong. Brightness does not fix it.

Fix: replace the fixture with one rated CRI 95 or better. This is not recoverable in the grade in any satisfying way, because you are trying to restore information the sensor never received.

Two different color casts in the same shot

Cause: mixed sources. A daylight fixture, a tungsten table lamp and a window all lighting the same scene. White balance can only be correct for one of them.

Fix on set, not in post: pick one color temperature, gel or switch out anything that does not match, and close the curtains if the window is fighting you. If you shoot it mixed, the grade will force you to choose which part of the frame looks right.

Blown-out highlights on skin

Cause: too much light on oiled or sweating skin, exposed for the shadows. The hotspots clip to pure white, and clipped areas contain no data to recover.

Fix: expose for the highlights, add diffusion, pull the light back, and keep a towel on set. Watch for it live using zebras or false color rather than judging by eye on a small screen.

Exposure shifts as performers move

Cause: the key is too close, so light falls off sharply across the working area. Someone moving three feet changes brightness noticeably.

Fix: move the key back and use a larger source, or add a second matched fixture to extend the even area. Turning off the camera's auto-exposure also matters here: auto-exposure hunting during a scene produces brightness pumping that is far more distracting than being slightly dark.

Shadows across faces during overlaps

Cause: one body blocking the key from the other, which is structural in adult work rather than a mistake.

Fix: raise and enlarge the key so it wraps over the top, add low fill from the opposite side, or keep a small fixture available to reach under. A small hard key guarantees this problem.

Visible stands, cables, shadows and gear

Cause: nobody checked the frame edges.

Fix: check the corners of the monitor before every setup, not the middle. Look specifically for stand legs, sandbags, cable runs, the boom shadow and the camera operator's own shadow, which moves and therefore reads as an error rather than as part of the scene.

Everything looks flat and there is no depth

Cause: usually a small white room bouncing light back from every surface, filling in every shadow you were trying to create.

Fix: negative fill. Black cloth, a flag, or anything non-reflective on the shadow side. Adding more light makes this worse. Subtracting bounce is what creates contrast in a small space.

Problems that survive the shoot become problems in post. The adult video editing workflow covers what can and cannot be corrected once you are in the timeline, and camera choice affects how much latitude you have to fix exposure at all.